RECLAD
We understand the challenges that homeowners of leaky or plaster houses face.
The Revive team are re-clad specialists and will support you through the process of transforming your plaster house into a warm, modern dream home that you’ll be excited about.

Make your home feel brand new
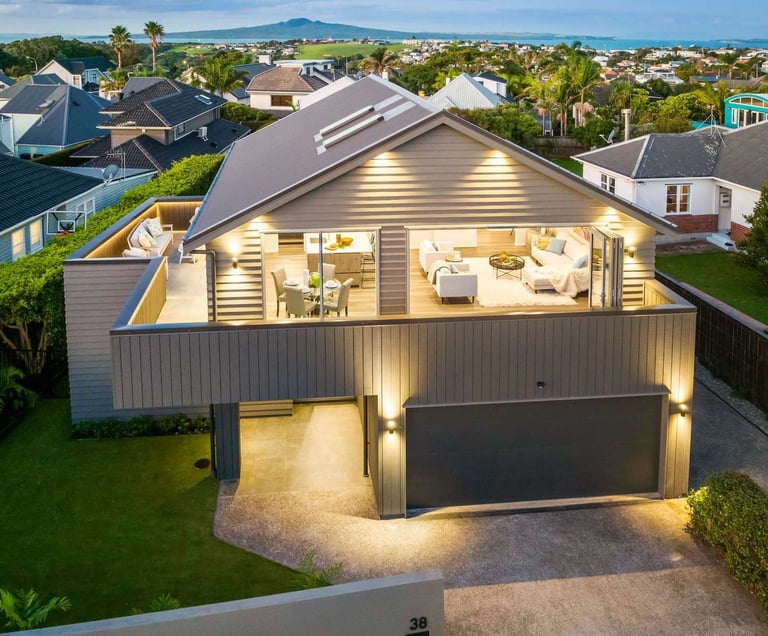
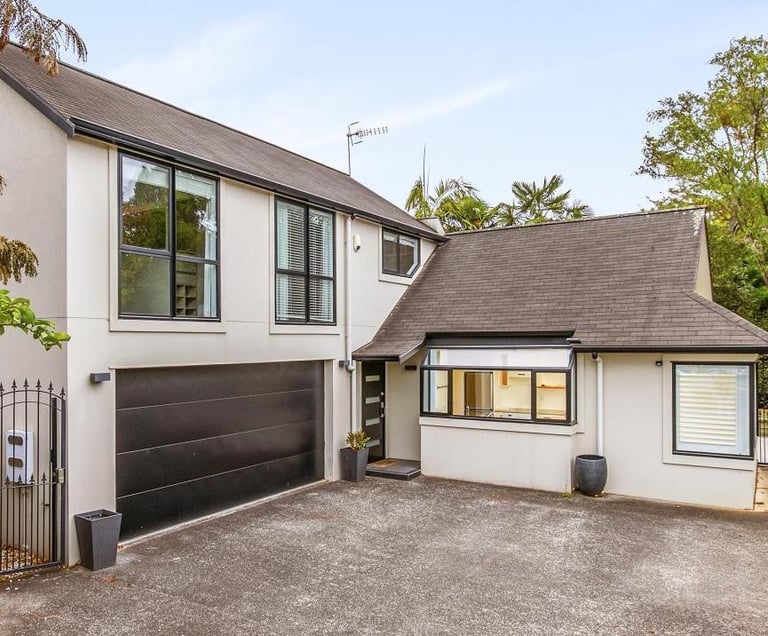
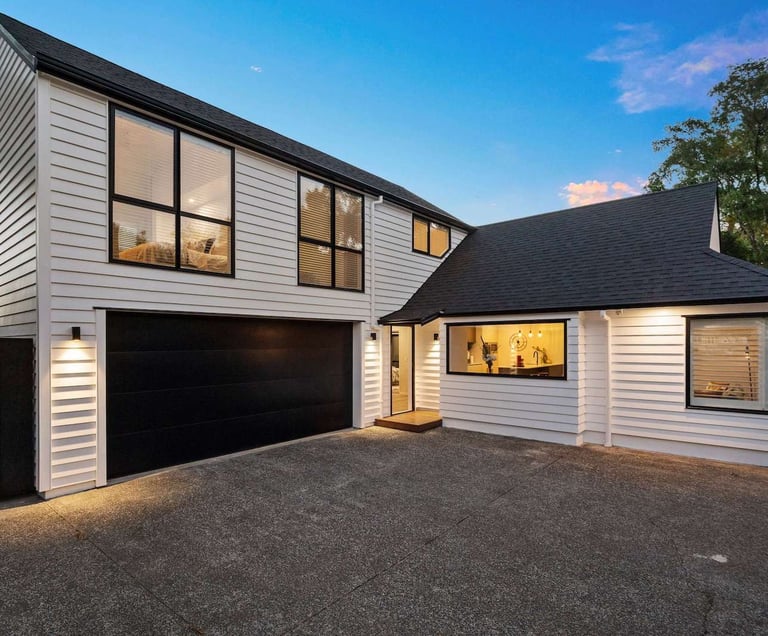
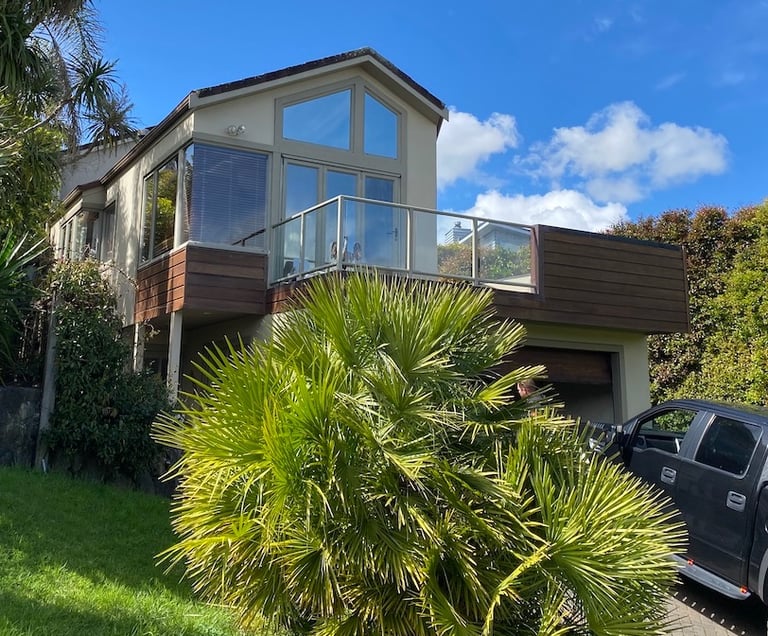
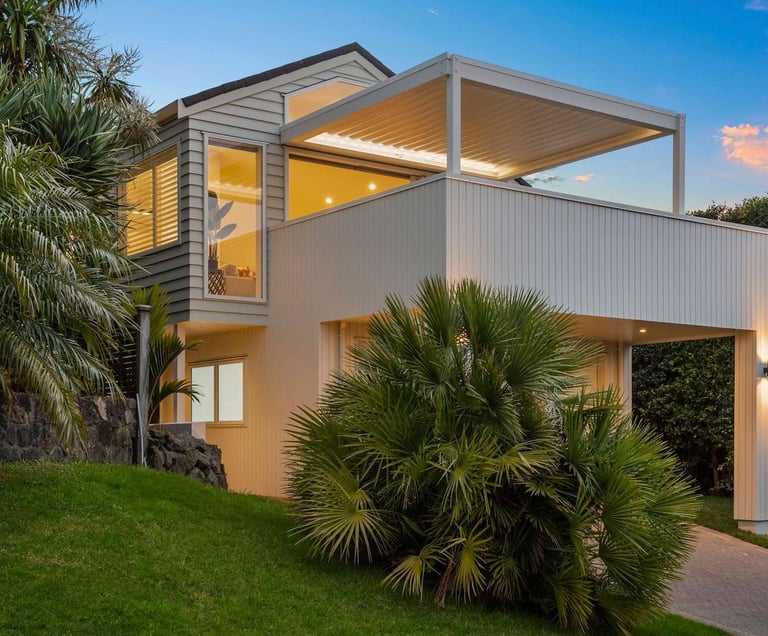
At the end of re-cladding, your home will look and feel brand new! It’s the perfect time to renovate or extend your home to meet your needs or those of the market so you can fetch the highest sale price. We also recommend installing new double glazed windows and doors for a warmer, more insulated home.
The options are endless and an architect will be able guide you, based on your budget and the style of your home. We work with many architects who are experts in this field and can recommend an architect that is best suited to your project.
The re-clad process
The amount of repair work required to fix a leaky home depends on the extent of the damage. We’ll walk you through the re-clad process step-by-step:
An architect redesigns your home to correct weathertight issues and add desired modifications
New plans are submitted to council for consent
Scaffolding is erected and the house is wrapped to protect it from the weather
Fixtures and fittings are stripped
Existing cladding & windows are removed
Compromised timber is identified by an independent weather tightness expert / assessor
Concrete NIB walls are poured to comply with ground clearance requirements (for surface water drainage)
Damaged / rotten timber framing is replaced
Frame saver (a highly effective fungicide), is applied to existing timber to preserve it
New insulation is installed
Building paper is installed
New cavity system is formed
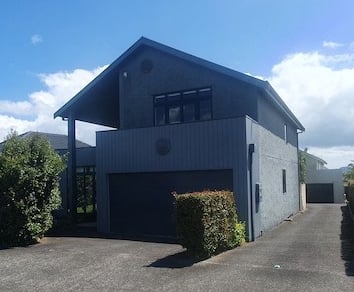
New cladding is installed
Wrapping and scaffolding are removed
Final clean up
New Code of Compliance is arranged for your new home
If you're concerned about weathertight issues, contact Chris for expert advice
Bevel back pine
Weatherboards are a cost effective option with timeless style
Pine or cedar shiplap
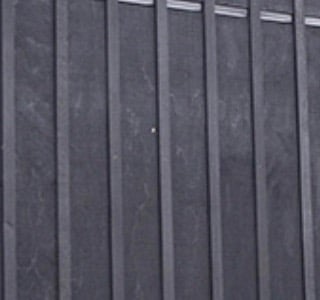
Vertical shiplap weatherboards are a popular cladding choice
Plywood cladding
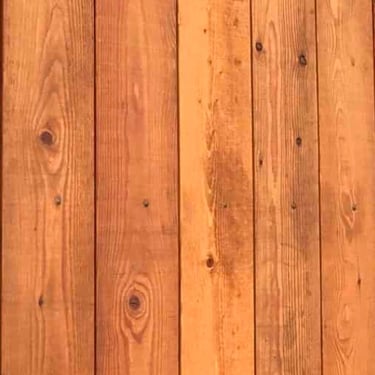
Beautiful, natural wood exterior to suit many architectural styles

Protect your home all year round
